With all those SRMs, the COM-2D is like a small, highly mobile shotgun that can take down 'Mechs twice its size or bigger. You've gotta be careful with it, though, because it's not meant to take much of a beating.
„
~ Yang Virtanen
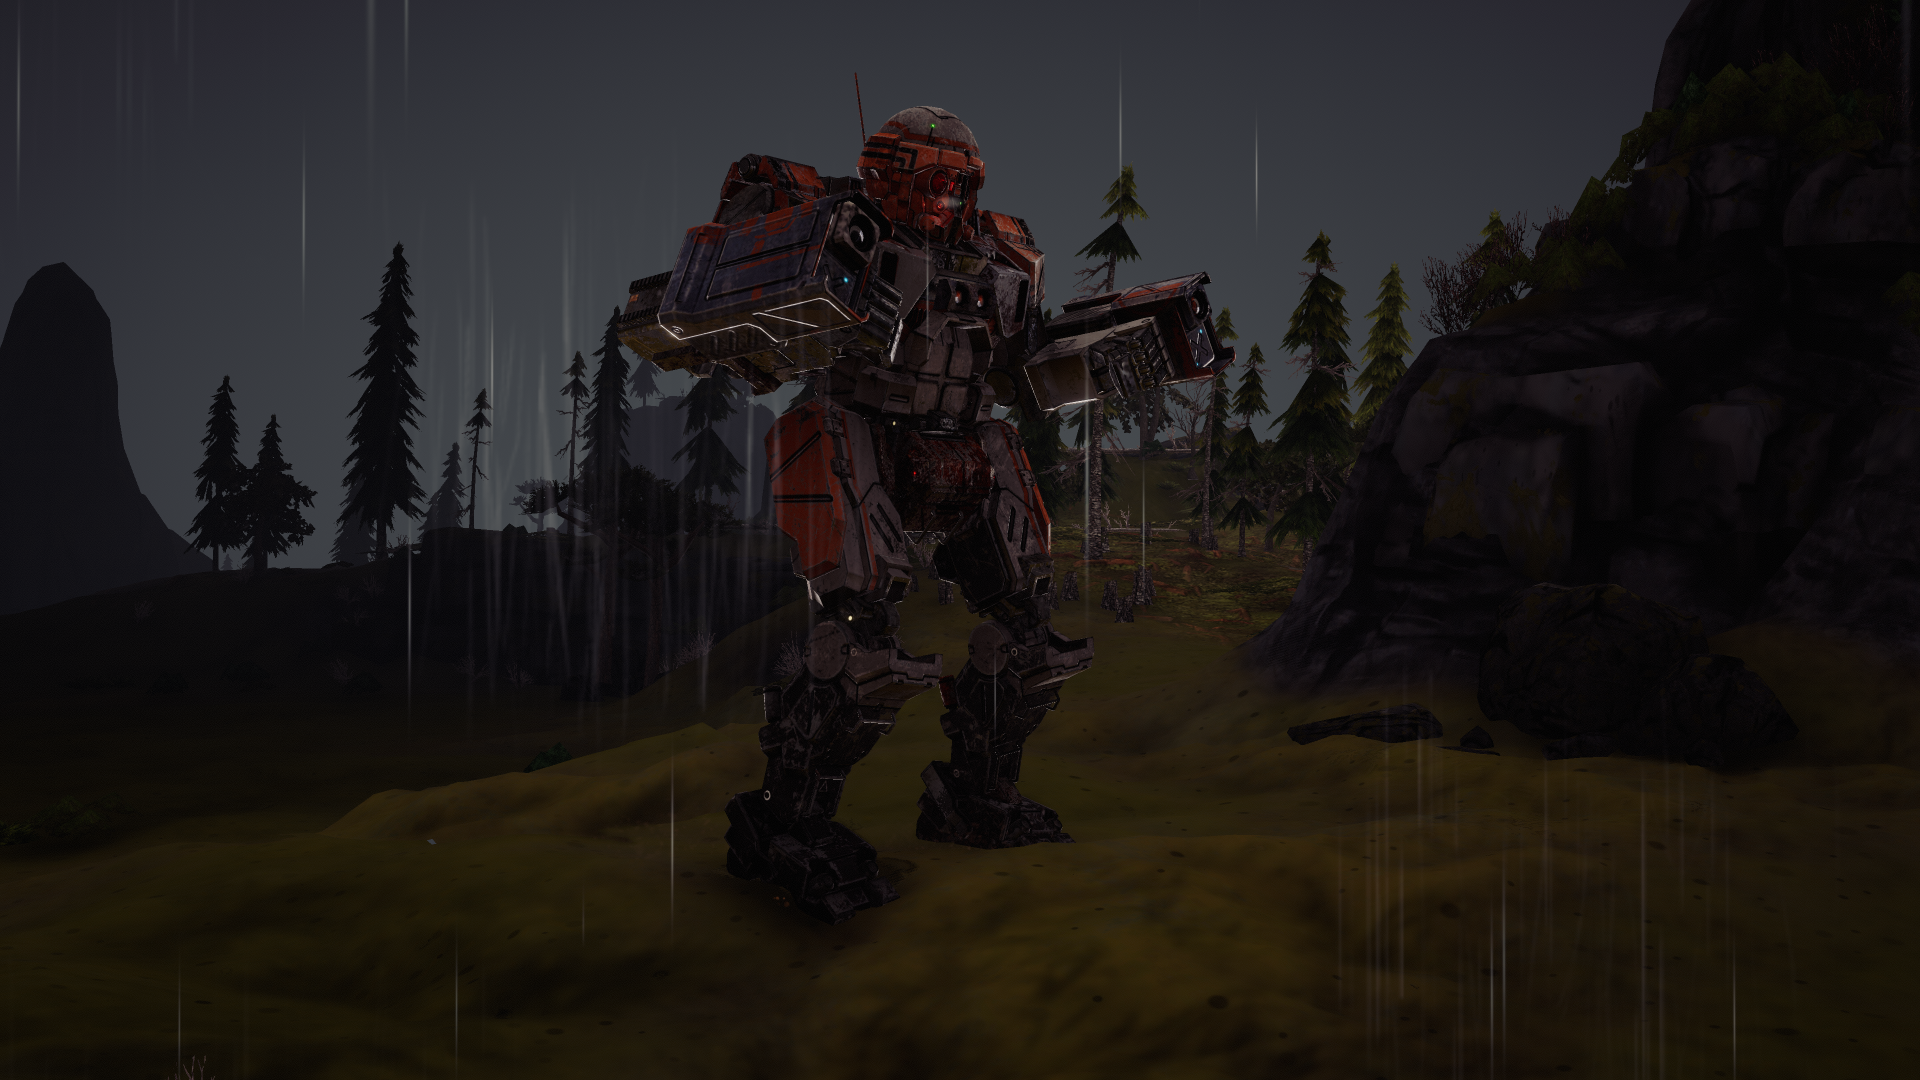
The Commando COM-2D is a Light-class 'Mech in Battletech.
Description[ | ]
As a stand-up fighter, the Commando 2D leaves a lot to be desired. As a hit-and-run 'Mech, however, few pilots can fault the 2D's loadout. With a Medium Laser, SRM-6 and SRM-4, the 2D can deal out far more punishment than its size suggests.
Loadouts[ | ]
Described as a small SRM shotgun, the most effective COM-2D builds have to revolve around using its three missile hardpoints; it just can't do much else with one energy and one support hardpoint, the latter being particularly useless as support weapons are best used in bulk when committed to. With that, the choice basically comes down to SRMs vs. LRMs, and then how much armor and ammo you're comfortable with.
The stock build is obviously SRM focused with a solid close-range punch against mechs its own size, though the ammo load is a bit of a Catch-22: the two tons of missiles on the stock loadout is a full 20 salvos--much more than it's ever likely to need. However, with the only other non-Support hardpoint already taken up by a Medium Laser (which would be the obvious choice), the only other weapon option for replacing the extra ton of missiles is another 2 SRM tubes, and the single ton of ammo remaining is just low enough for 12 SRMs to deplete in a hurry (8.3 salvos, to be exact). If your Commando is going to be scouting part-time with Sensor Lock, that might be enough to last the mission, but once it runs out you're down to one ML which is not desirable in the least. Sacrificing the ML instead for those two SRMs costs a bit of total damage but does allow you to more reliably put out stability damage over the course of your mission, and for that role the COM-2D is actually one of the few viable light 'mechs. You can also sacrifice armor to increase your missile volley while keeping sufficient ammo, which is really only viable if you mostly use hit-and-run tactics. The logical endpoint of this is dropping armor and the ML to absolutely get the most missiles out of your 3 hardpoints, if you're comfortable leaving your defenses behind almost entirely. The most extreme form of this would be a 3xSRM6 build (which is a huge punch for a 25-ton mech) with two tons of ammo and only one ton of armor, but most players will likely look for more of a happy medium. Still, you can try at your peril...
Sacrificing protection is less of a concern when you don't have to get close to your foe to begin with, which can be achieved by replacing the ML and SRMs with LRMs. Even leaving the armor as is, you can mount two LRM5s with two tons of ammo, letting the COM-2D provide consistent, if a bit paltry LRM support for the duration of most missions. Given that you're not going to be in line of sight of the enemy anyways, though, dropping two tons of armor for a third LRM5 makes the Commando a lot more potent and, for scouting purposes, could allow you to strip evasion chevrons off of up to three enemy 'mechs simultaneously with multi-target, which could be quite useful depending on your situation. Reserving through an enemy's turn to then hit them with two salvos of this is quite feasible and can stack up a decent lot of stability damage, all while keeping the Commando relatively safe. This build might let the COM-2D remain viable for just a little longer in the campaign if for some reason you're stuck using it instead of a heaver light 'mech (or a decent medium), but don't expect miracles from it; it's still only a 25-ton 'mech.
While you can technically mount larger LRM racks than LRM5s, these come with a weight penalty; an LRM10 weighs more than 2 LRM5s, a penalty that the Commando can't afford, and can't split its fire the way the LRM5s can. You've only got three missile hard points, though, so anything more than an LRM15 is going to require larger racks. That said, your'e never going to manage above an LRM20 equivalent and you won't have any armor or much ammo while doing it.
While you're eligible to mount up to six JJs, it's difficult to find room for them without fatally compromising the Commando's already low armor or sacrificing a decent chunk of your firepower. Mounting just one will allow you to negotiate some obstacles that are insurmountable for normal Commandos at the expense of generating any evasion for the turn. If keeping the stock build, dropping the extra ton of SRM ammo is a simple enough way to bring two JJs. Three JJs are the minimum if you want to use them for mobility and evasion mid-combat, with four preferable. If you're brave (or foolhardy), sacrificing a lot of armor for five or six JJs does make JJ-driven hit-and-run tactics very viable, but be aware that you are very dependent on the terrain for your survival and that any LRM fire will ruin your day fast.
Strategy[ | ]
Even if you're looking to use a Commando and manage to salvage one early in the game, it's unlikely to last past the mid-game as it simply doesn't have the tonnage to keep up in the later, high-challenge missions. In the early game, though, it's a decent option if you're looking for a scout that packs more of a punch than the Spider (at the expense of mobility, admittedly) and don't yet have a Jenner or Firestarter to take over the role.
With its speed and agility, this is a surprisingly useful flanker even into the mid-game stages, if only because the ability to repeatedly deliver up to 105 points of damage to a sensitive surface is something that most heavy and assault mechs cannot reliably manage. Make sure you don't leave your Commando in range for return fire, though--it won't last long against even enemy medium mechs.
Like any other light 'mech, evasion is king if you're looking to survive for any length of time. The Commando is a little handicapped in this regard as it is only as fast as a Firestarter and lacks the latter's tonnage to mount JJs. Pilots without many points in the Piloting skill will find it difficult to keep up four evasion chevrons every round while keeping an angle to fire at the enemy at the same time. Because of this, hit-and-run tactics are of great importance for short-range Commando builds. Long-range Commandos can skimp a little on evasion if you've got a buddy to take the return fire instead.
Since stock Commandos (and probably most custom builds) lack JJs, terrain can also become a difficult problem to deal with. You may find yourself having to regularly sprint to get the Commando safely to where it needs to go, which of course means that it isn't contributing to the battle for that turn. You can lean into this somewhat: build the Commando with all the MLas and SRMs you can pack into it, which will run hot; alpha strike until it heats up; then sprint away to disengage and cool off. Again, this is less of an issue for LRM and direct-fire long-range builds, if you can get the latter onto a high ridge line or similar early.